


Hearing is a key part of your overall well-being. Because hearing loss often develops slowly, it’s important to stay ahead of it. I recommend a baseline hearing test around age 50—or sooner if you notice changes. Early testing can catch issues before they worsen and help you take proactive steps to protect your hearing.
In this guide, we'll cover:
- What to expect during a hearing evaluation
- How long the process takes
- Tips to help you get the most out of your appointment

Key Takeaways:
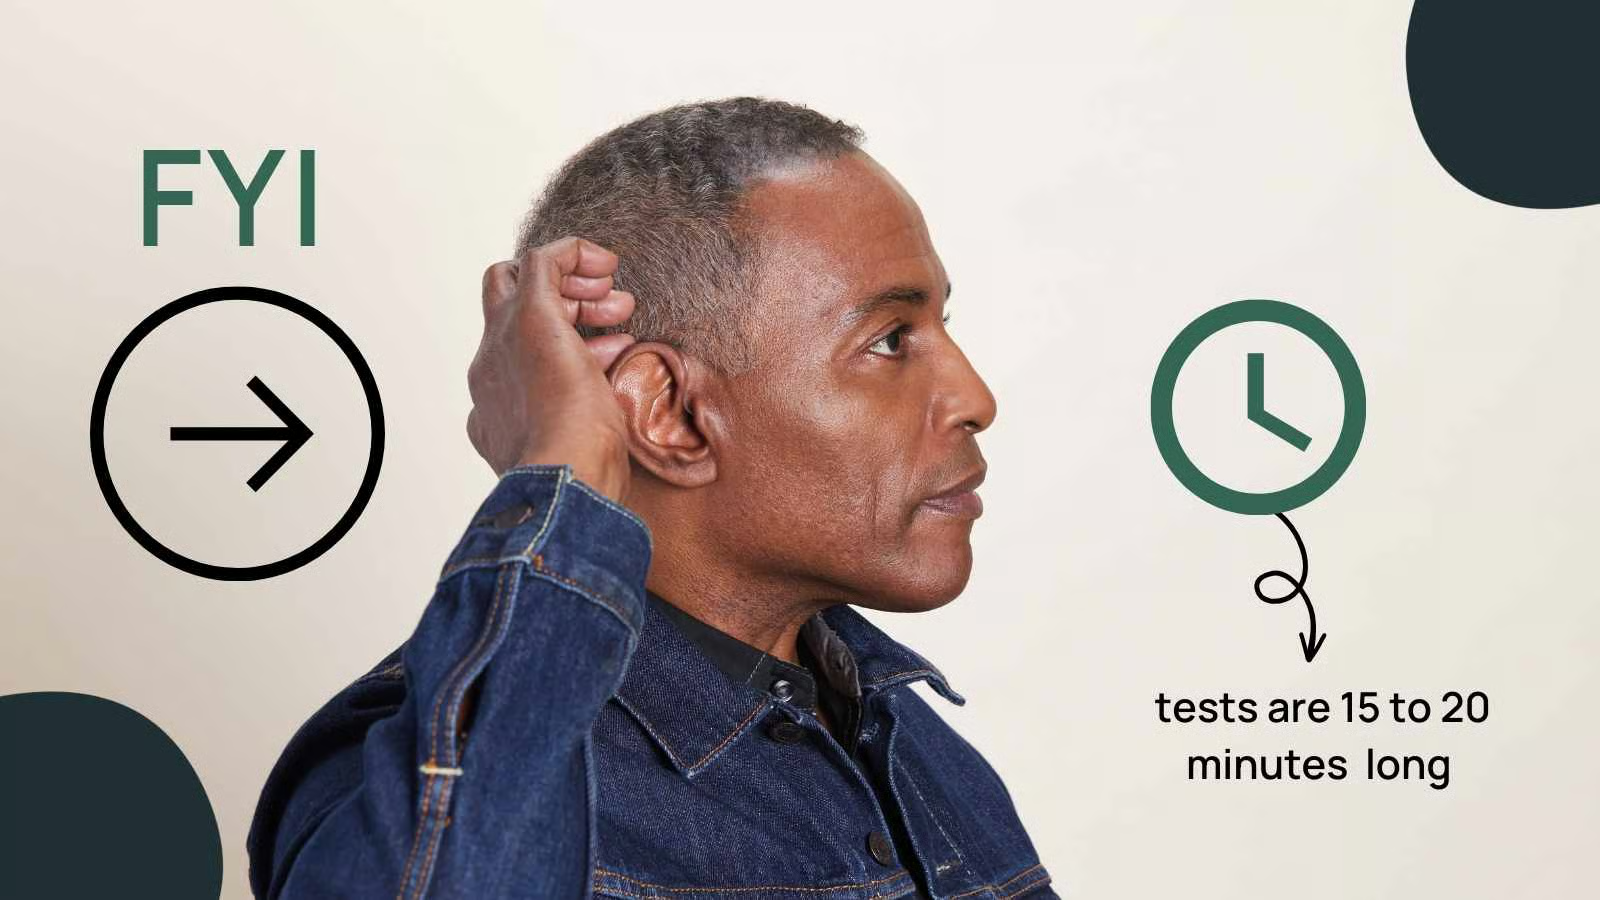
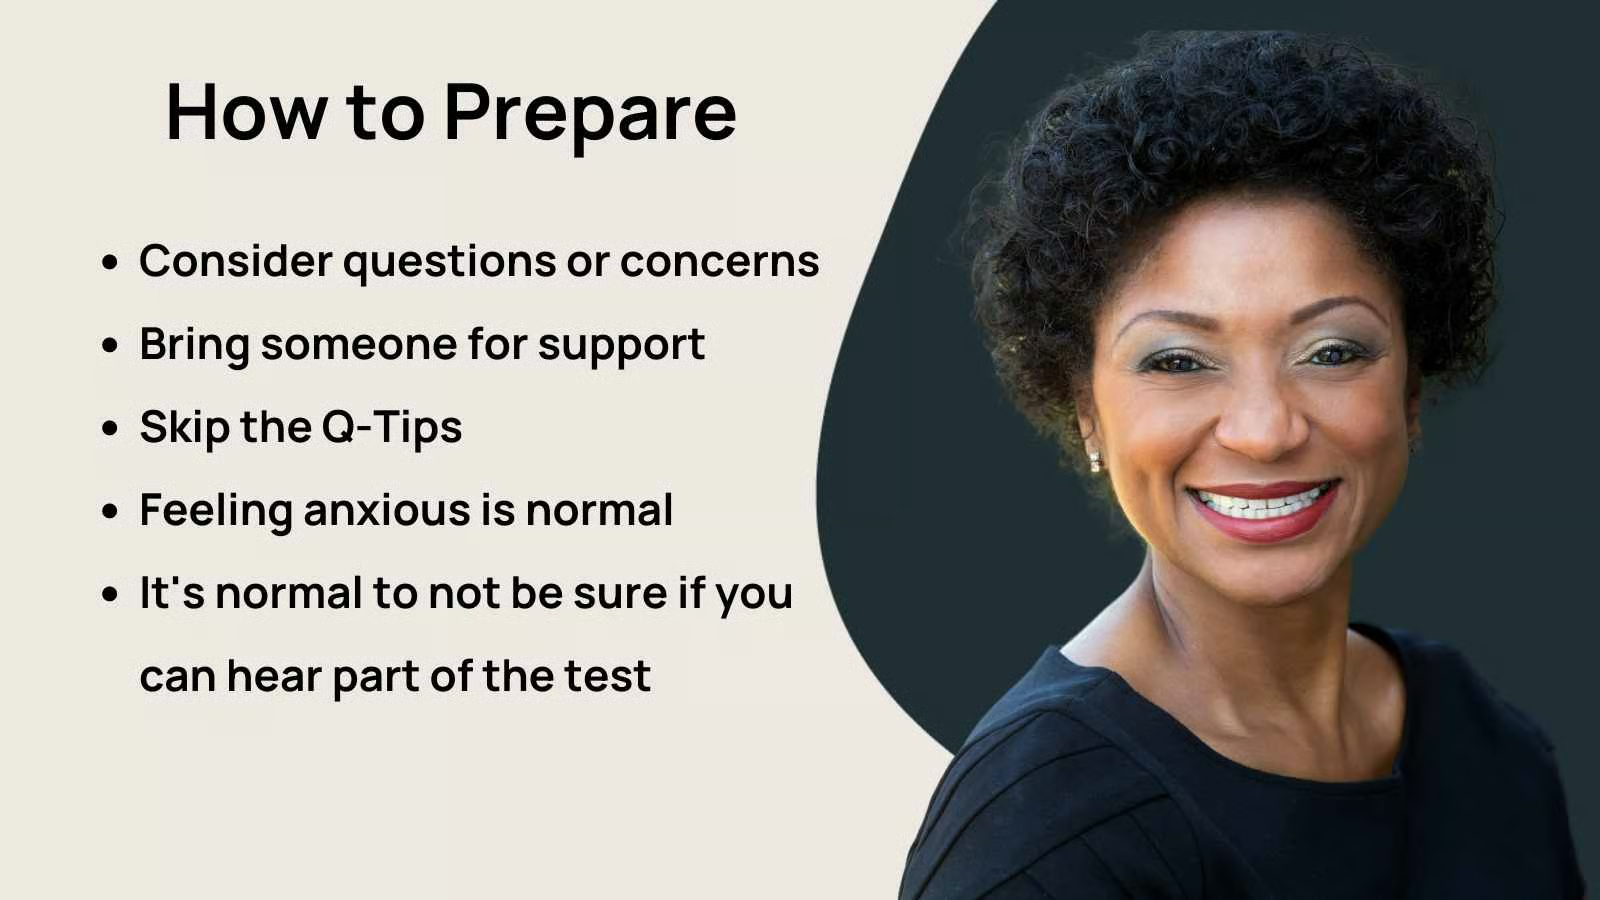
- It's normal to feel anxious before your first hearing test, but it's helpful to know that this 15-20 procedure is quick and pain-free.
- Prior to the test, consider any questions you may have and whether you'd like to bring someone for support.
- The test itself involves several different kinds of tasks, from listening for beeps to repeating words. You'll find out your results immediately after.
What to Expect During a Hearing Test
How Long Does a Hearing Test Take?
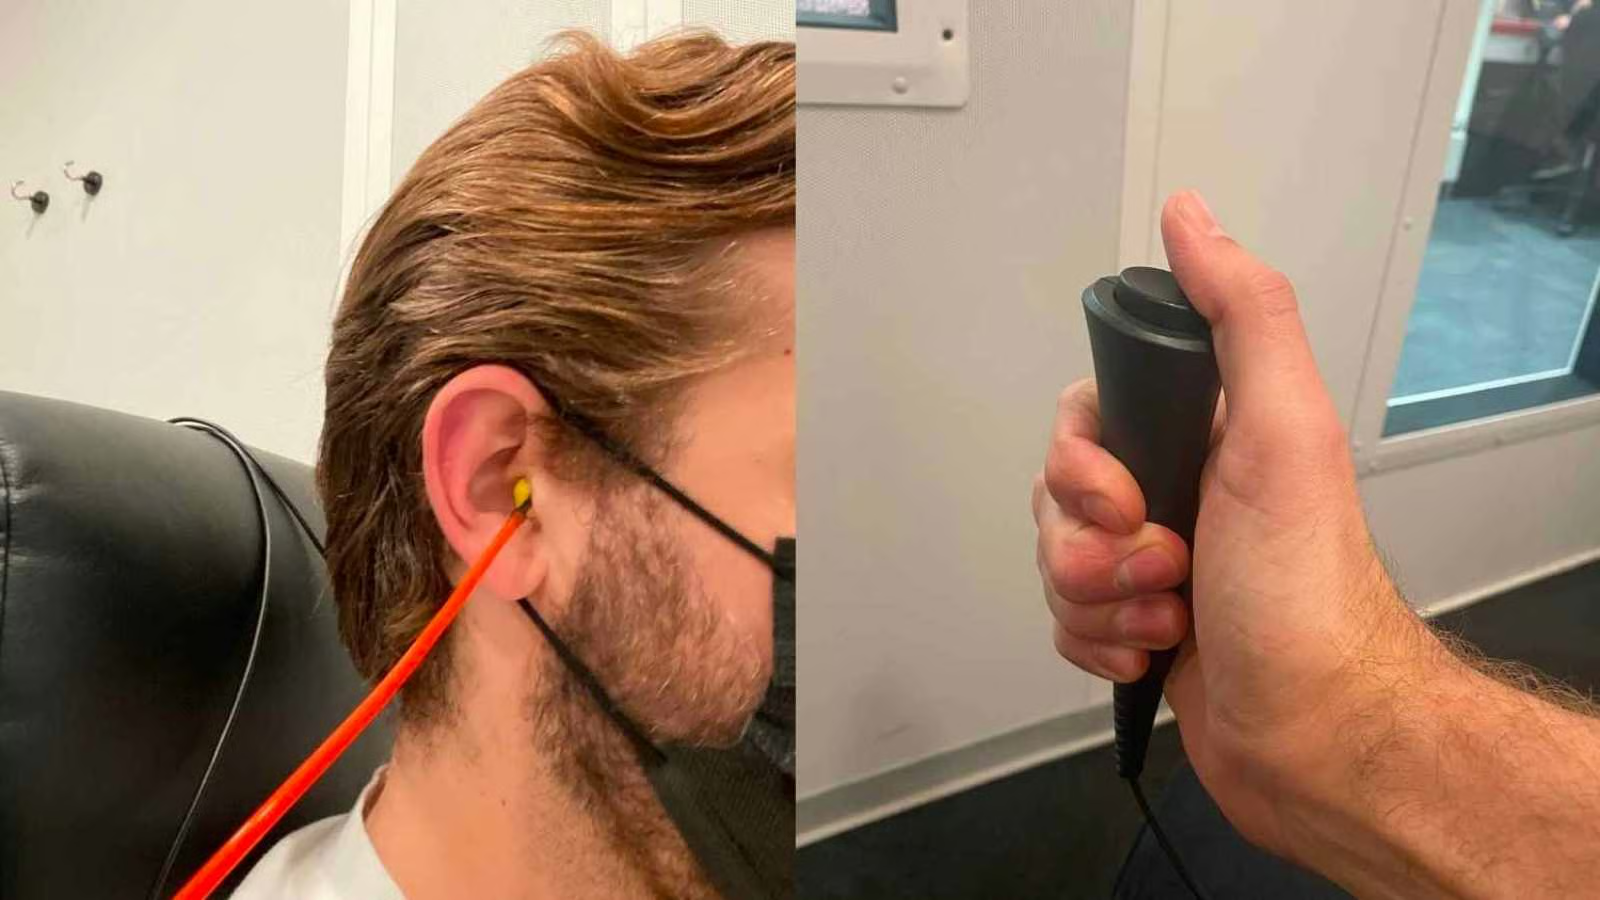
A hearing test itself typically takes between 15 to 20 minutes. During this time, an audiologist will assess your hearing using a battery of tests, which includes repeating back words and listening for soft beeping sounds while wearing headphones or a special headband. The order of tests may vary, depending on the clinician’s preference.
A typical hearing test appointment typically includes a consultation and usually takes between 60-90 minutes in total.
What Should You Bring to the Appointment?
You don’t need to bring anything specific to the test, but it’s helpful to come prepared. Jot down any questions or concerns you have about your hearing, and consider bringing a family member or friend for support and to help remember key takeaways.
- Questions or Concerns: Think about any hearing issues you've experienced and jot down questions you'd like to ask.
- Support Person: Bringing a family member or friend can provide emotional support and help recall information discussed during the appointment.
- Insurance Information: If it's your first visit to the clinic, having your insurance details on hand can be helpful for administrative purposes. Some insurance plans cover hearing tests even if they do not cover hearing aids.
What Happens After Your Test?
Once all the tests are complete, your audiologist will walk you through the results. They’ll explain your audiogram—a chart that shows your hearing levels across different frequencies—and discuss whether any hearing loss was found.
What Happens If You Have Hearing Loss?

Let’s say your hearing test reveals that you do have some hearing loss. In most cases, the clinician who administered the test will walk you through your results and—if appropriate—recommend one or two hearing aid options based on your needs, lifestyle, and budget.
You may decide to move forward with hearing aids right away. If so, the clinician will typically place an order for your devices and schedule a follow-up appointment for fitting and setup.
In many cases, the hearing aids won’t be available on the same day but will arrive for pickup and programming within a few days to a couple of weeks.
If you’re not ready to make a decision on the spot, that’s completely okay. You can ask for a printed (or digital) copy of your audiogram and take some time to consider your options. This might include:
- Comparing different hearing aid models and prices
- Looking into over-the-counter (OTC) hearing aids, which can be a good fit for mild to moderate hearing loss
- Getting a second opinion or discussing your results with another provider
If you want a second opinion, you are welcome to share your results with the Soundly team.
We’re happy to walk through your audiogram with you, help you understand your options, and talk through the pros and cons of different care paths—whether that’s working with a local provider or choosing an OTC device from home.
Preparing for your first hearing test can help alleviate anxiety and ensure you get the most out of your appointment. Remember, early detection of hearing issues is key to effective management. If you have any concerns about your hearing, don't hesitate to schedule a test.
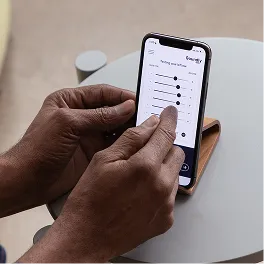
Curious about hearing tests? Take Soundly’s online hearing test right now.