

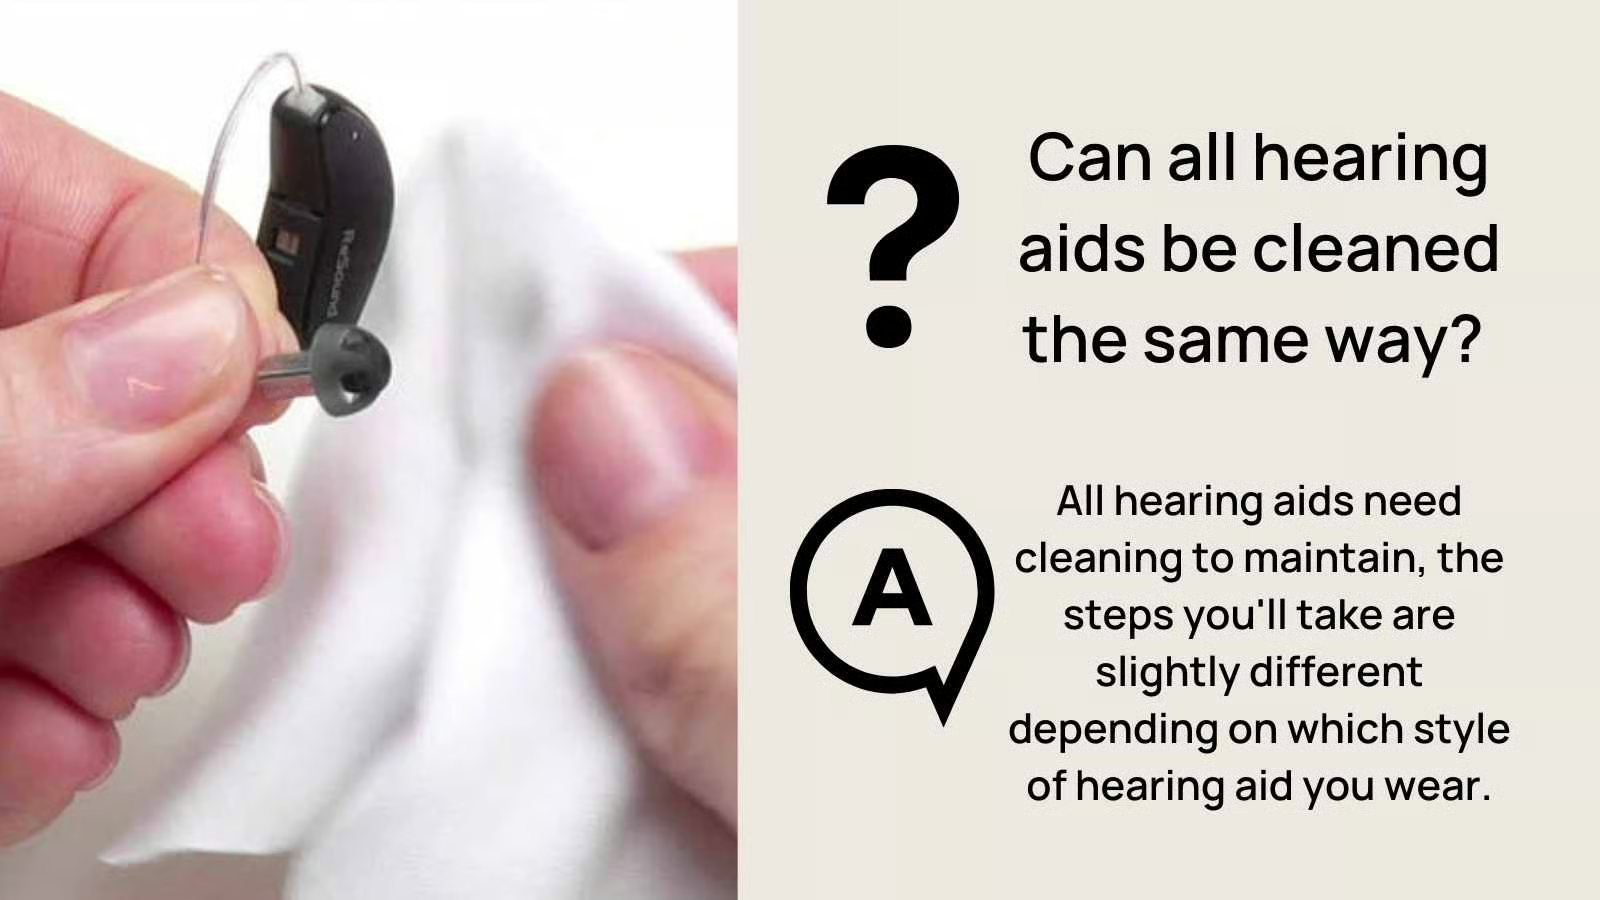
Is your hearing aid sounding muffled or weak?
Here's some good news: it's probably just a simple cleaning issue, not a broken device.
The solution is easier than you think.
A little daily care can:
- Bring back that clear, crisp sound
- Keep your ears healthy
- Make your hearing aids last much longer
What you'll find in this guide: I'll show you the same simple cleaning steps I share with everyone who comes to see me. For daily cleaning, you probably already have most of what you need at home.
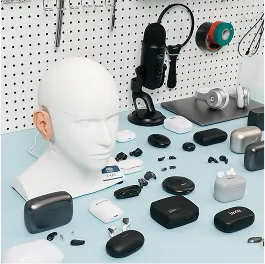
ITE, RIC, or BTE hearing aid?
I know it might seem overwhelming at first, but cleaning your hearing aids is really straightforward once you get the hang of it.
The good news is that no matter what hearing aid style you have, there are really just two things you need to stay on top of:
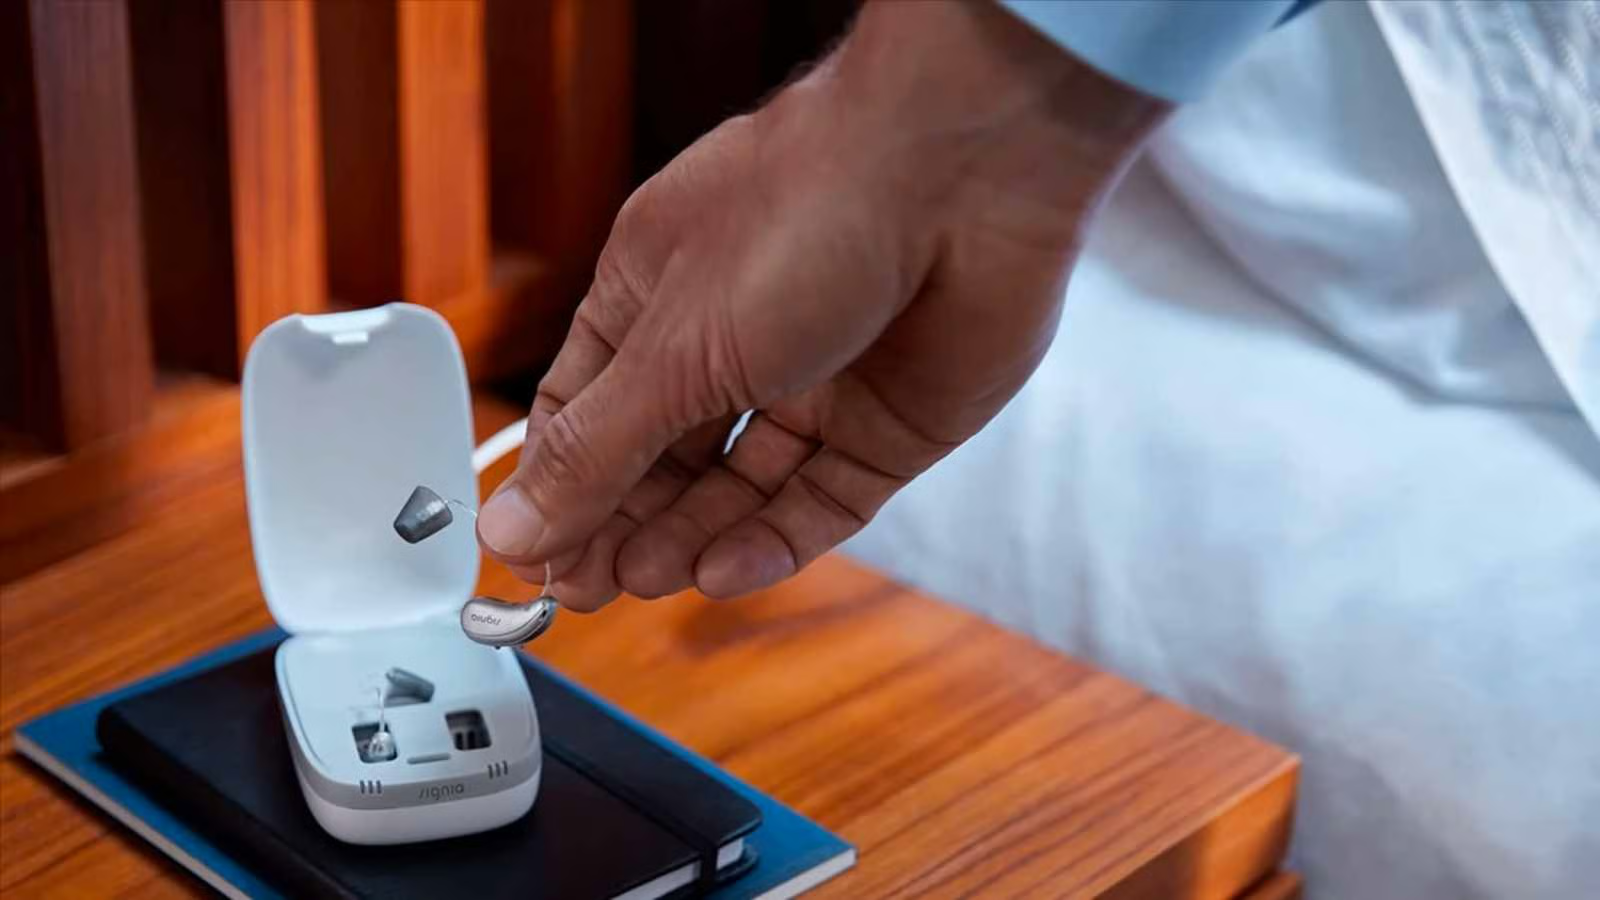
Daily Maintenance: Remove Earwax
To prevent build-up, use a tissue to wipe off the portion that goes in the ear (e.g., earmold, dome tip, or the ear canal portion in a custom hearing aid) before storing it in the charger or case for the night.
In the morning, use a brush—a child's toothbrush also works well—to remove any remaining debris that dries overnight.
Monthly Maintenance: Remove Earwax
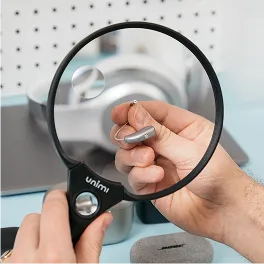
If you have a RIC hearing aid or any of the custom styles that fit inside your ear, you'll need to change the wax guard regularly to keep them working well.
Most people find that changing it once a month does the trick, but everyone's different. Some people naturally produce more earwax than others, so you might need to swap yours out more often.
The easiest way to tell? If your hearing aids start sounding muffled or much quieter than usual, that's your sign to put in a fresh one.
One thing that surprises a lot of people is that different hearing aid brands use different types of wax guards.
Phonak's version looks like a little disc that you rotate, while most others come in a small case and look a bit like tiny matchsticks. Don't worry though - once you see yours, you'll get the hang of it quickly.
What You'll Need
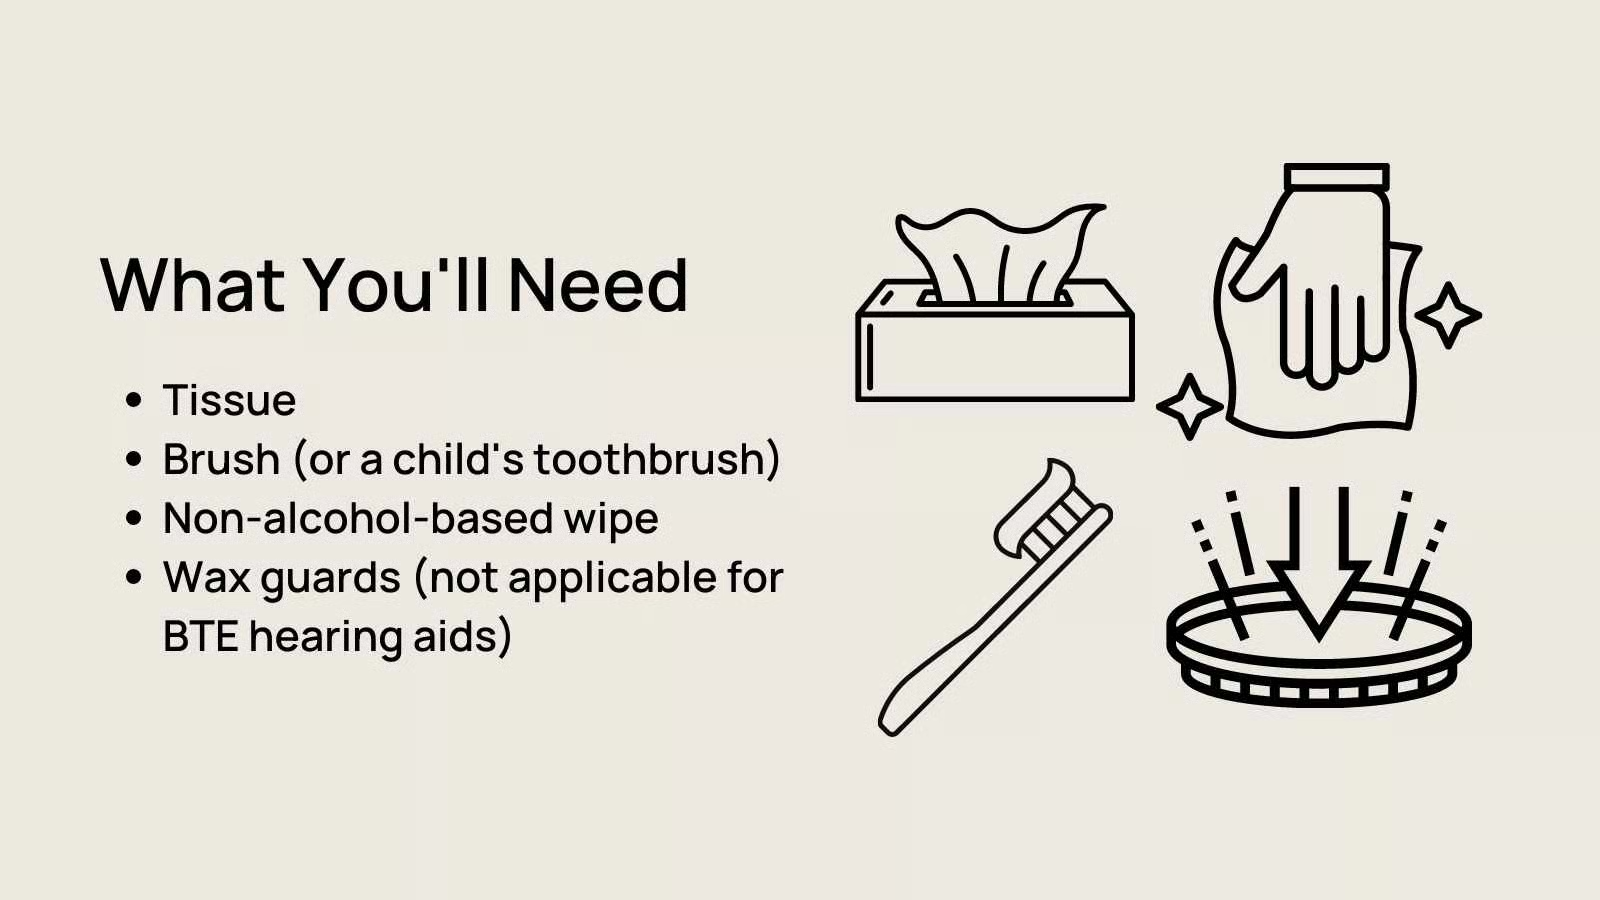
You probably already have most of what you need around the house. Just gather up:
- Tissue or a soft cloth
- Brush (or child's toothbrush)
- Non-alcohol-based wipe
- Wax guards (not applicable for BTE hearing aids)
Nightly Cleaning Procedure
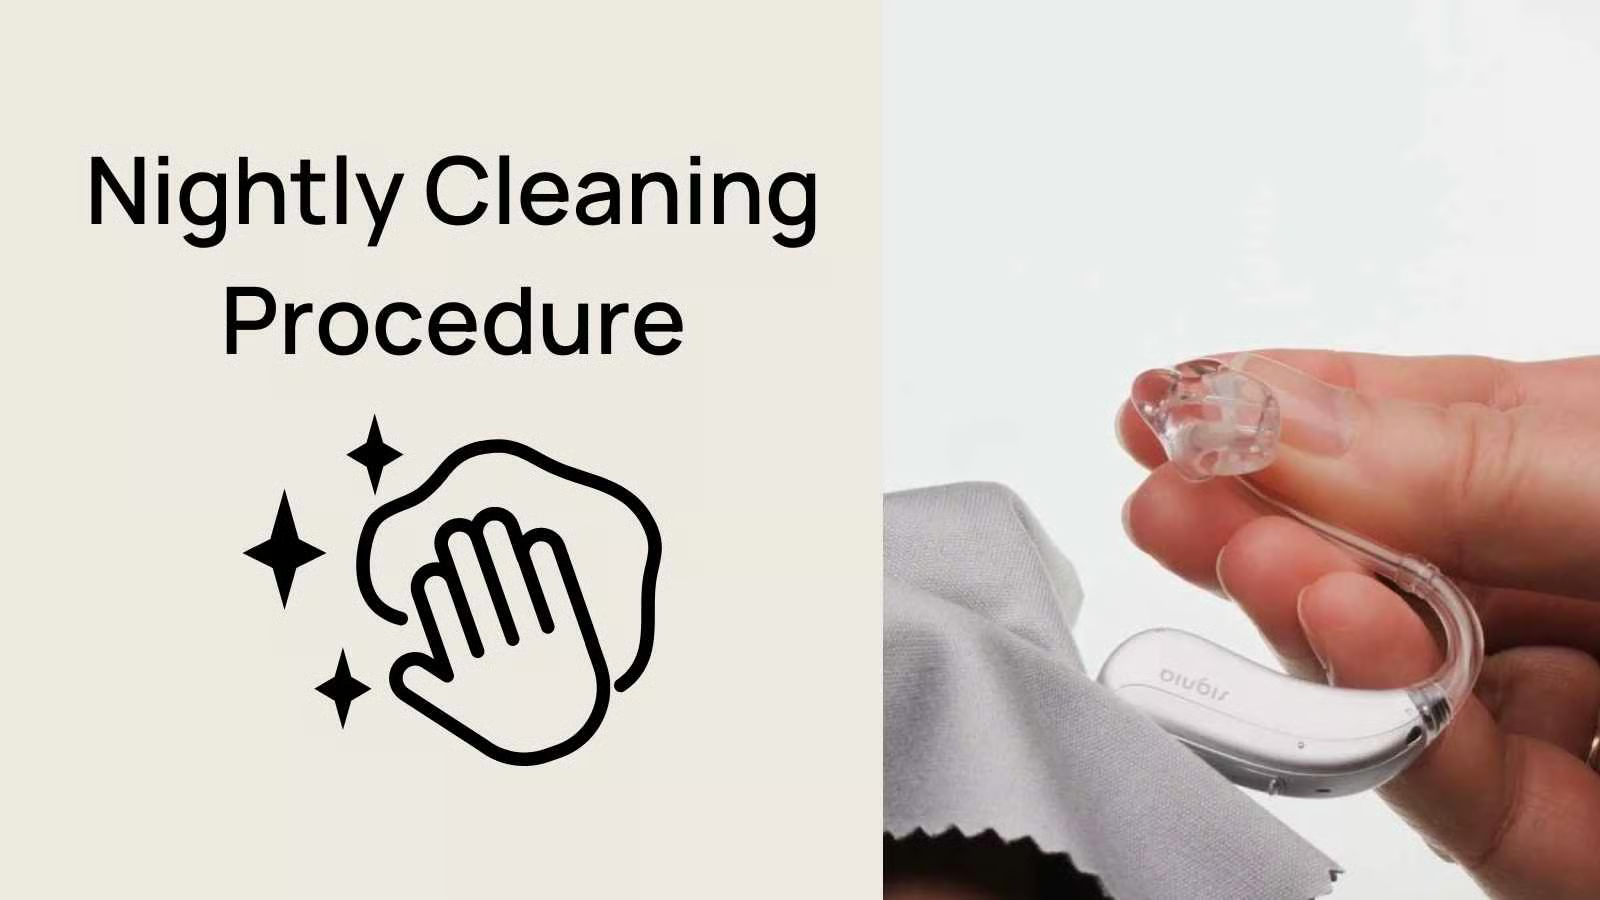
Once you have all of the supplies, follow these steps for cleaning your hearing aids:
End of Day Wipe-Down
When you take your hearing aids out for the night, take a quick look at the wax guards and that little opening on the earmold to see if there's any buildup. Just grab a tissue or gentle wipe (make sure it's alcohol-free) and clean off any wax or debris you can see.
Cleaning the Microphones
Here's a little trick: hold your hearing aid so the microphone openings are facing down - gravity will help pull any dirt away instead of pushing it deeper in. Then take your soft brush and gently brush those tiny openings with light back-and-forth strokes.
Morning Touch-Up
After your hearing aids have been stored overnight, give them another gentle brush to remove anything that might have dried and hardened while they were resting.
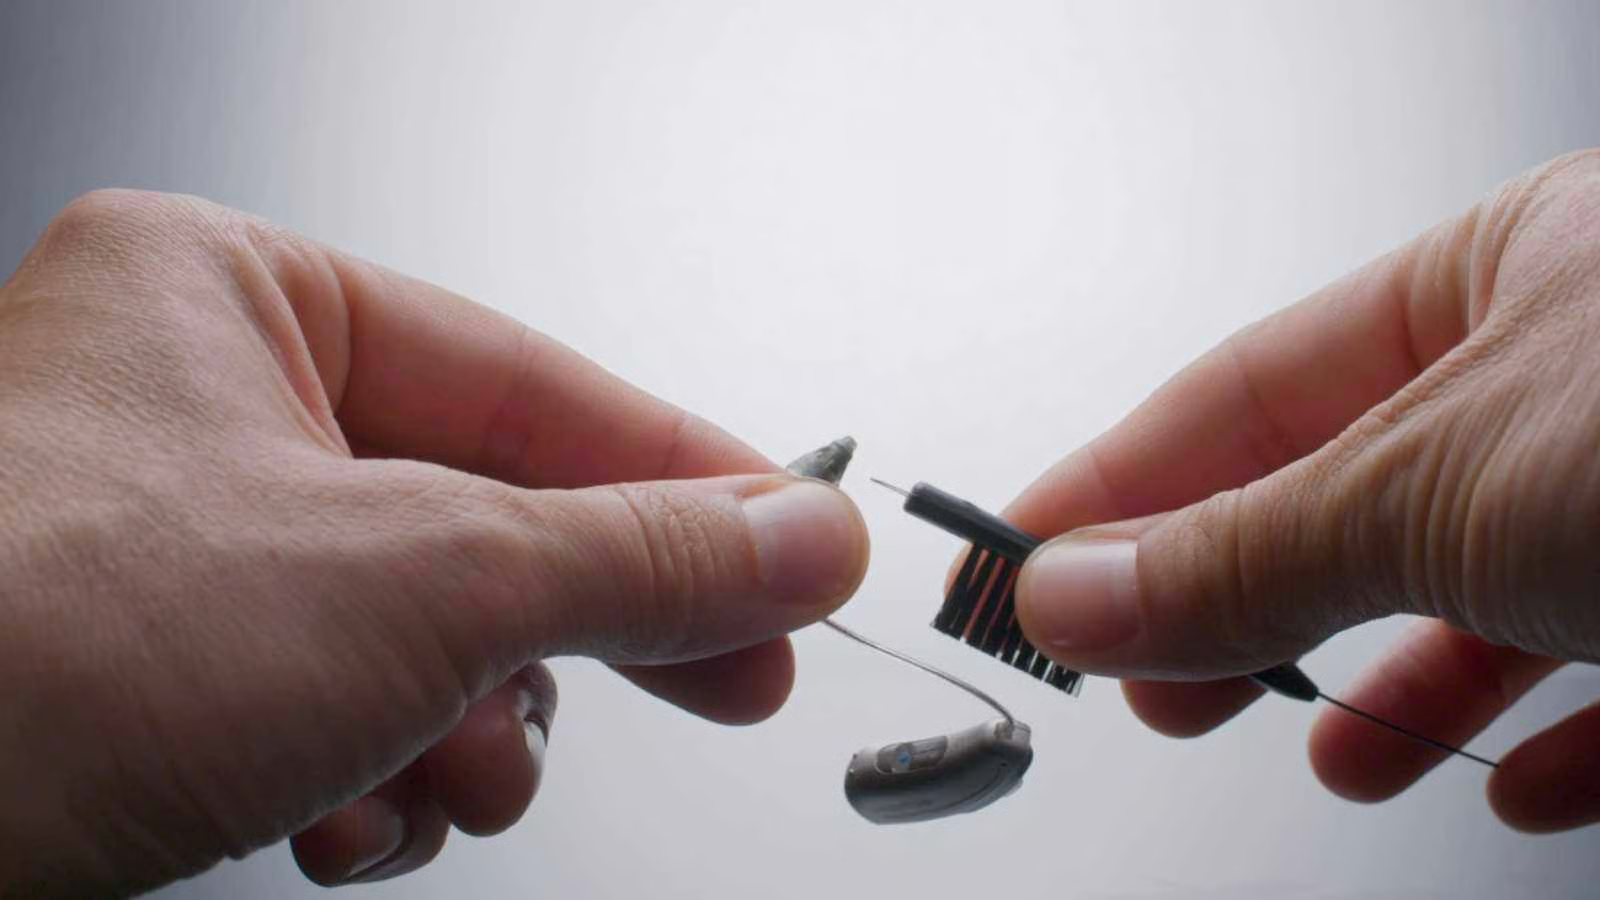
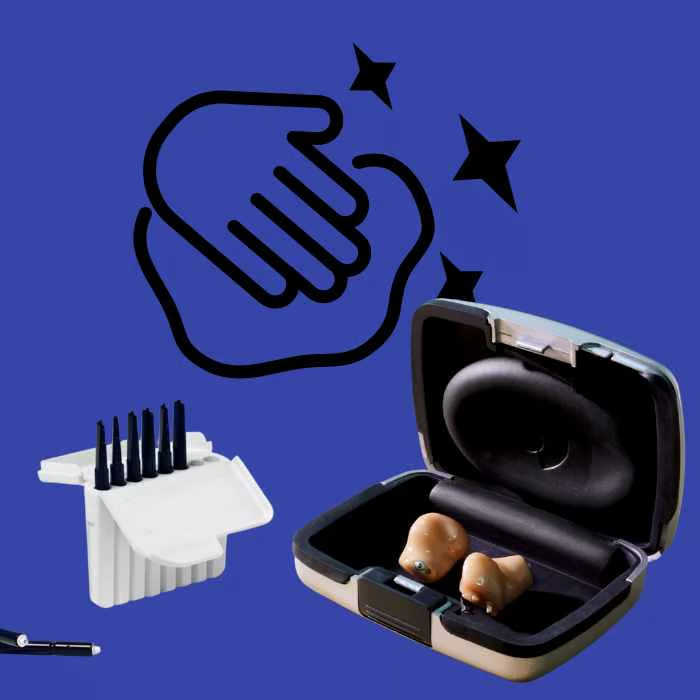
Changing A Wax Guard
To change your wax guard, you'll follow a few easy steps.
- Pull out a pack of wax guards. Depending on the manufacturer, it may look like a small disc or case resembling a match stick case.
- If you have a dome tip, remove the dome tip to access the wax guard (and, this does not apply to an encased receiver or custom hearing aid).
- Remove one of the sticks from the wax guard pack. It looks like a small stick with a fresh wax guard on one end and an open end, which you’ll use to remove the old wax guard. Place the empty side into the old wax guard to grip it and pull it out
- Turn the stick around to the end with the fresh wax guard. Insert the new wax guard. Then, dispose of the stick after use.
Final thoughts
Taking care of your hearing aids really doesn't have to be complicated. Once you get into the habit, it'll only take a minute or two each day. And in most cases, you'll notice the difference in sound quality right away.
If any of the steps feel complicated, a local audiologist can help with a thorough cleaning or walk you through the process again.
The whole point is just keeping them working well so you can enjoy clear hearing every day - whether that's chatting with family, watching TV, or just hearing all the everyday sounds around you.